Blessing Bags with a Crafty Twist
One of my favorite projects with my Giving Artfully Kids students is Blessing Bags for the homeless. Blessing bags are simply Ziploc bags filled with basic necessities, such as soaps, shampoos, and granola bars. We then have children, along with their parents to disperse the bags to someone in their community that could use it.

I love this project because it not only let children directly experience helping someone, but it also allows children to directly experience the appreciation of the recipient.
We had one parent send us a note saying:
“Thank you so much for the intentionality of teaching our children about caring for others. [My girls] were thrilled to hand out their blessing bags while we were downtown today. We even kept our distance and watched as the woman poured over her bag excitedly”.
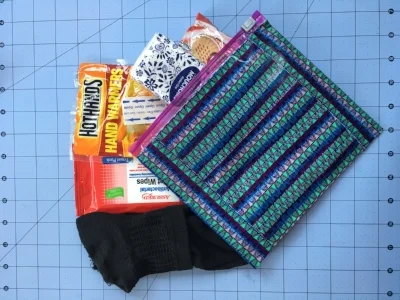
In our classes, we like to add a little 'crafty' twist to the project. Instead of just a plain plastic bag, we decorated the bags with duct tape.

It not only added some fun to the project for the kids but also benefitted the recipients who received it by giving them a reusable waterproof pouch they could use again and again.
We also encouraged our students to write an "inspirational/kind note" to let the recipients know others are thinking of them.

““I included some basic things you might need...I know you can get through this. I wish you super good luck””
Before getting to the directions, I wanted to share with you this complete service learning project lesson plan. In this download, you will not only receive the crafting directions, but also a video to watch with you children to help introduce the social issue of homelessness. We also included discussion questions, materials list and reflections questions to complete the service learning experience. Just fill out the form below and we will send you the FREE DOWNLOAD to your email right away.!
Blessing Bag Directions with Social Issue Video Introduction and Discussion Questions.
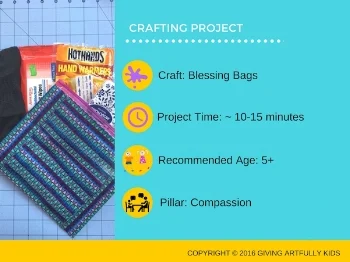
Materials:
- Ziploc Quart Bags
- Decorative Duct Tape
- Scissors
- Basic necessities to fill the bag (hand sanitizer, tooth brush, tooth paste, bandaids, socks, etc.)
Directions
Step 1: Cut a strip of duct tape the length of the plastic bag
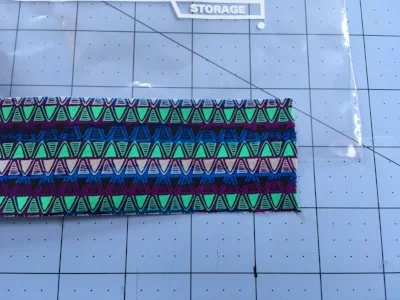
Step 2: Lay the first strip on the bottom of the bag with half on one side of the bag and folding over the duct tape to the other side

Step 3: Continue laying strips of duct tape to the top of the bag. Repeat on the opposite side
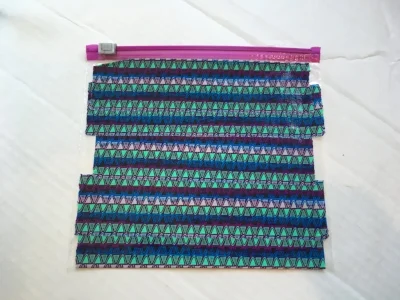
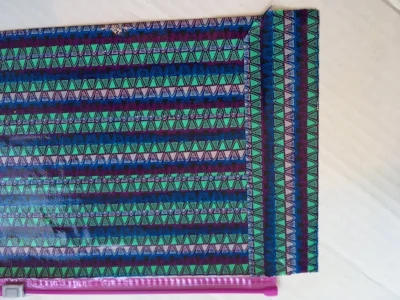
Step 4: To seal the edges, cut a strip of duct tape and place along the edge of the bag Fold the duct tape along the side edge and then trim the bottom edge ,
Step 5: Fill the blessing bag with basic necessities (toothbrush, toothpaste, lip balm, kleenex, socks, handwarmers, etc.)
Step 6: Add an inspirational/kind note to the bag.
Step 7: With you child, find someone in the community that you think could benefit from the blessing bag. If you get a chance, take a step back and have your child observe the reaction of the recipient. Often times, children will get to see the deep appreciation of the recipients which shows them that they can make a difference.